Le Potato Hosts Homebridge: Part 1
From potato to Apple-friendly smart home bridge
3/4/2023, 3:14:00 PM CST
What are potatoes good for?
My original intention when buying a Le Potato SBC from Libre Computer was to host my own Mastodon instance. After having run one briefly on a very small Linode server, I realized that the headache would likely end up being too much. I did have some fun poking around at Mastodon's tech stack, but ultimately decided it just wasn't worth it.
So that left me with this little SBC that was just nibbling up electricity and wasting CPU cycles. And that's when I ran across someone talking about Homebridge which seeks to make non-HomeKit compatible devices work with HomeKit. I have generally been resistant to the smart home trend, but ever so slowly "smart" devices have been creeping their way into my home. Over time, we ended up with 3 different "smart device providers" in our home: Vivint, Kasa, and HomeKit.
As many of you who have gone through your own smart home journey can attest, it can be incredibly frustrating trying to remember which app is used for which devices and what types of "automation" are supported for each device/automation software. It's a mess, so I did my research and found that plugins existed for both Kasa and Vivint products.
Le Potato has a purpose once again.
Setting Up Homebridge
I recently changed Le Potato to run Raspbian, so we'll start by following the install directions for Raspbian that I found here. I'll list the steps out below just in case that link dies.
First, we'll need to add the Homebridge Repository and it's GPG key:
curl -sSfL https://repo.homebridge.io/KEY.gpg | sudo gpg --dearmor | sudo tee /usr/share/keyrings/homebridge.gpg > /dev/nullecho "deb [signed-by=/usr/share/keyrings/homebridge.gpg] https://repo.homebridge.io stable main" | sudo tee /etc/apt/sources.list.d/homebridge.list > /dev/nullThen we'll need to update our packages and install homebridge:
sudo apt-get update && sudo apt-get install homebridgeAnd just like that, Homebridge should be running. In order to get to the UI, we'll need to find out our public IP Address (using a command such as ifconfig). From there it's just navigating to http://your-ip-adddress:8581 and following the setup UI.
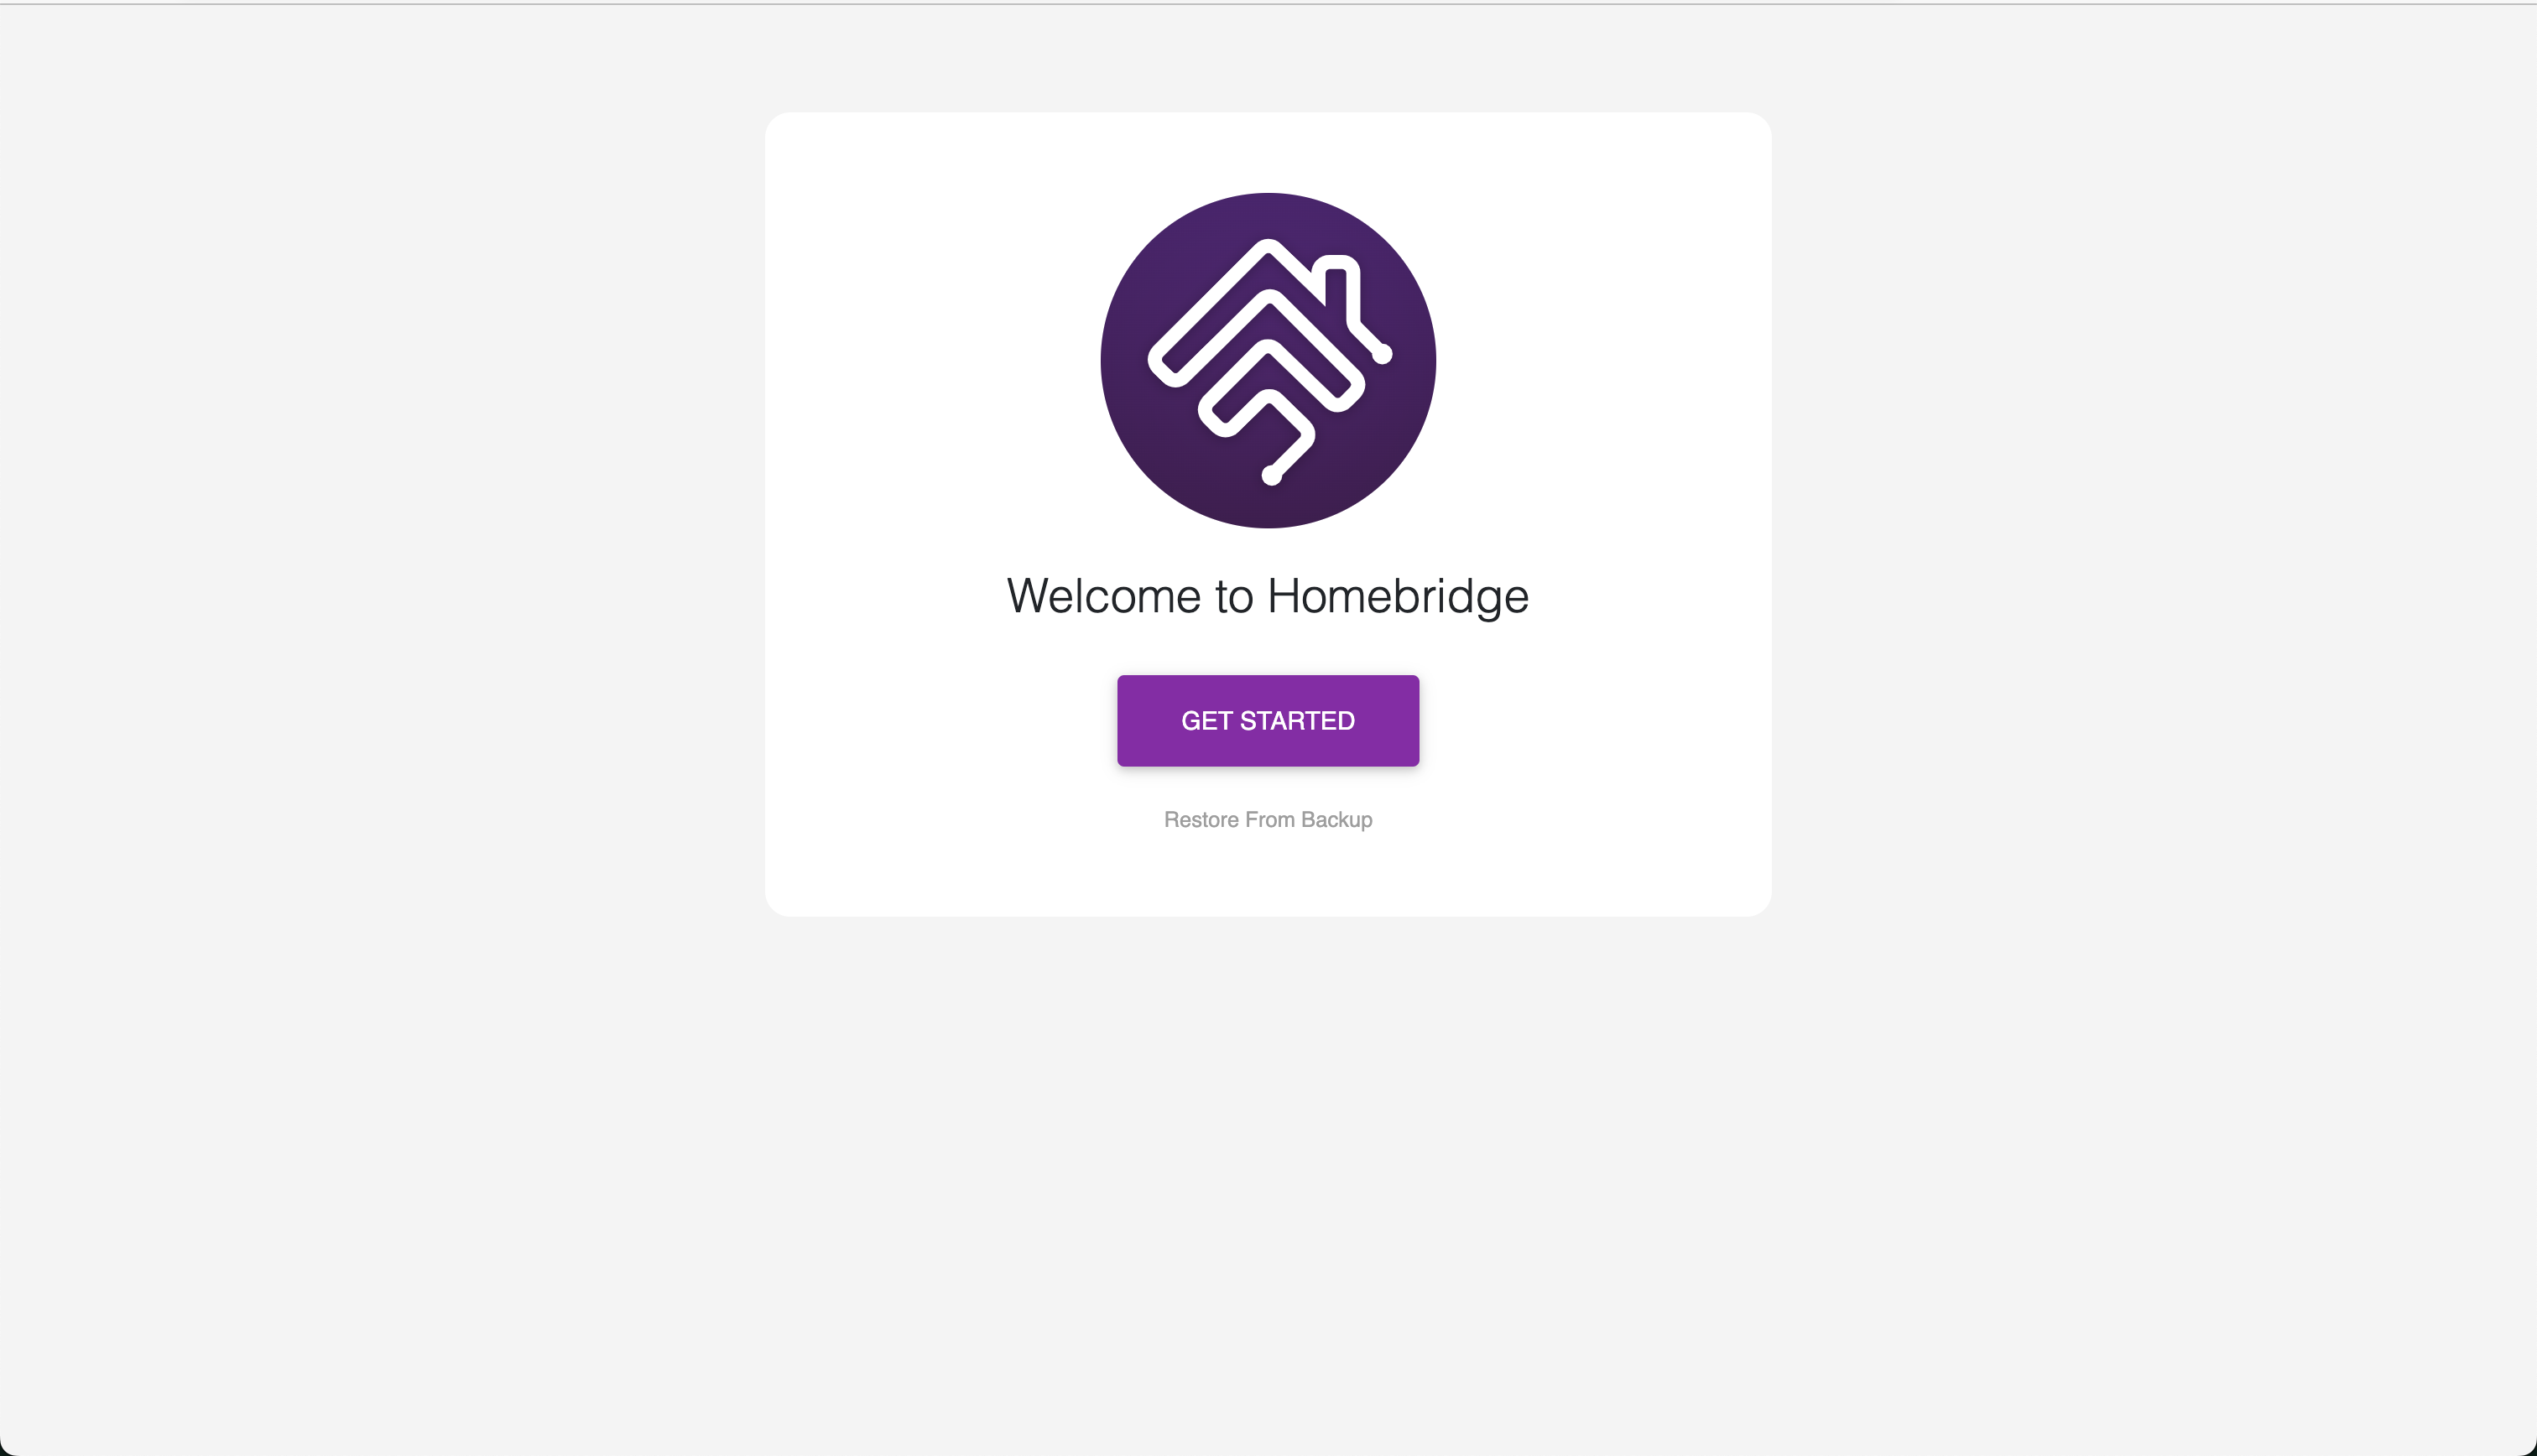
You'll enter a username and password for your admin account and then go to the dashboard, where you'll see something like this.
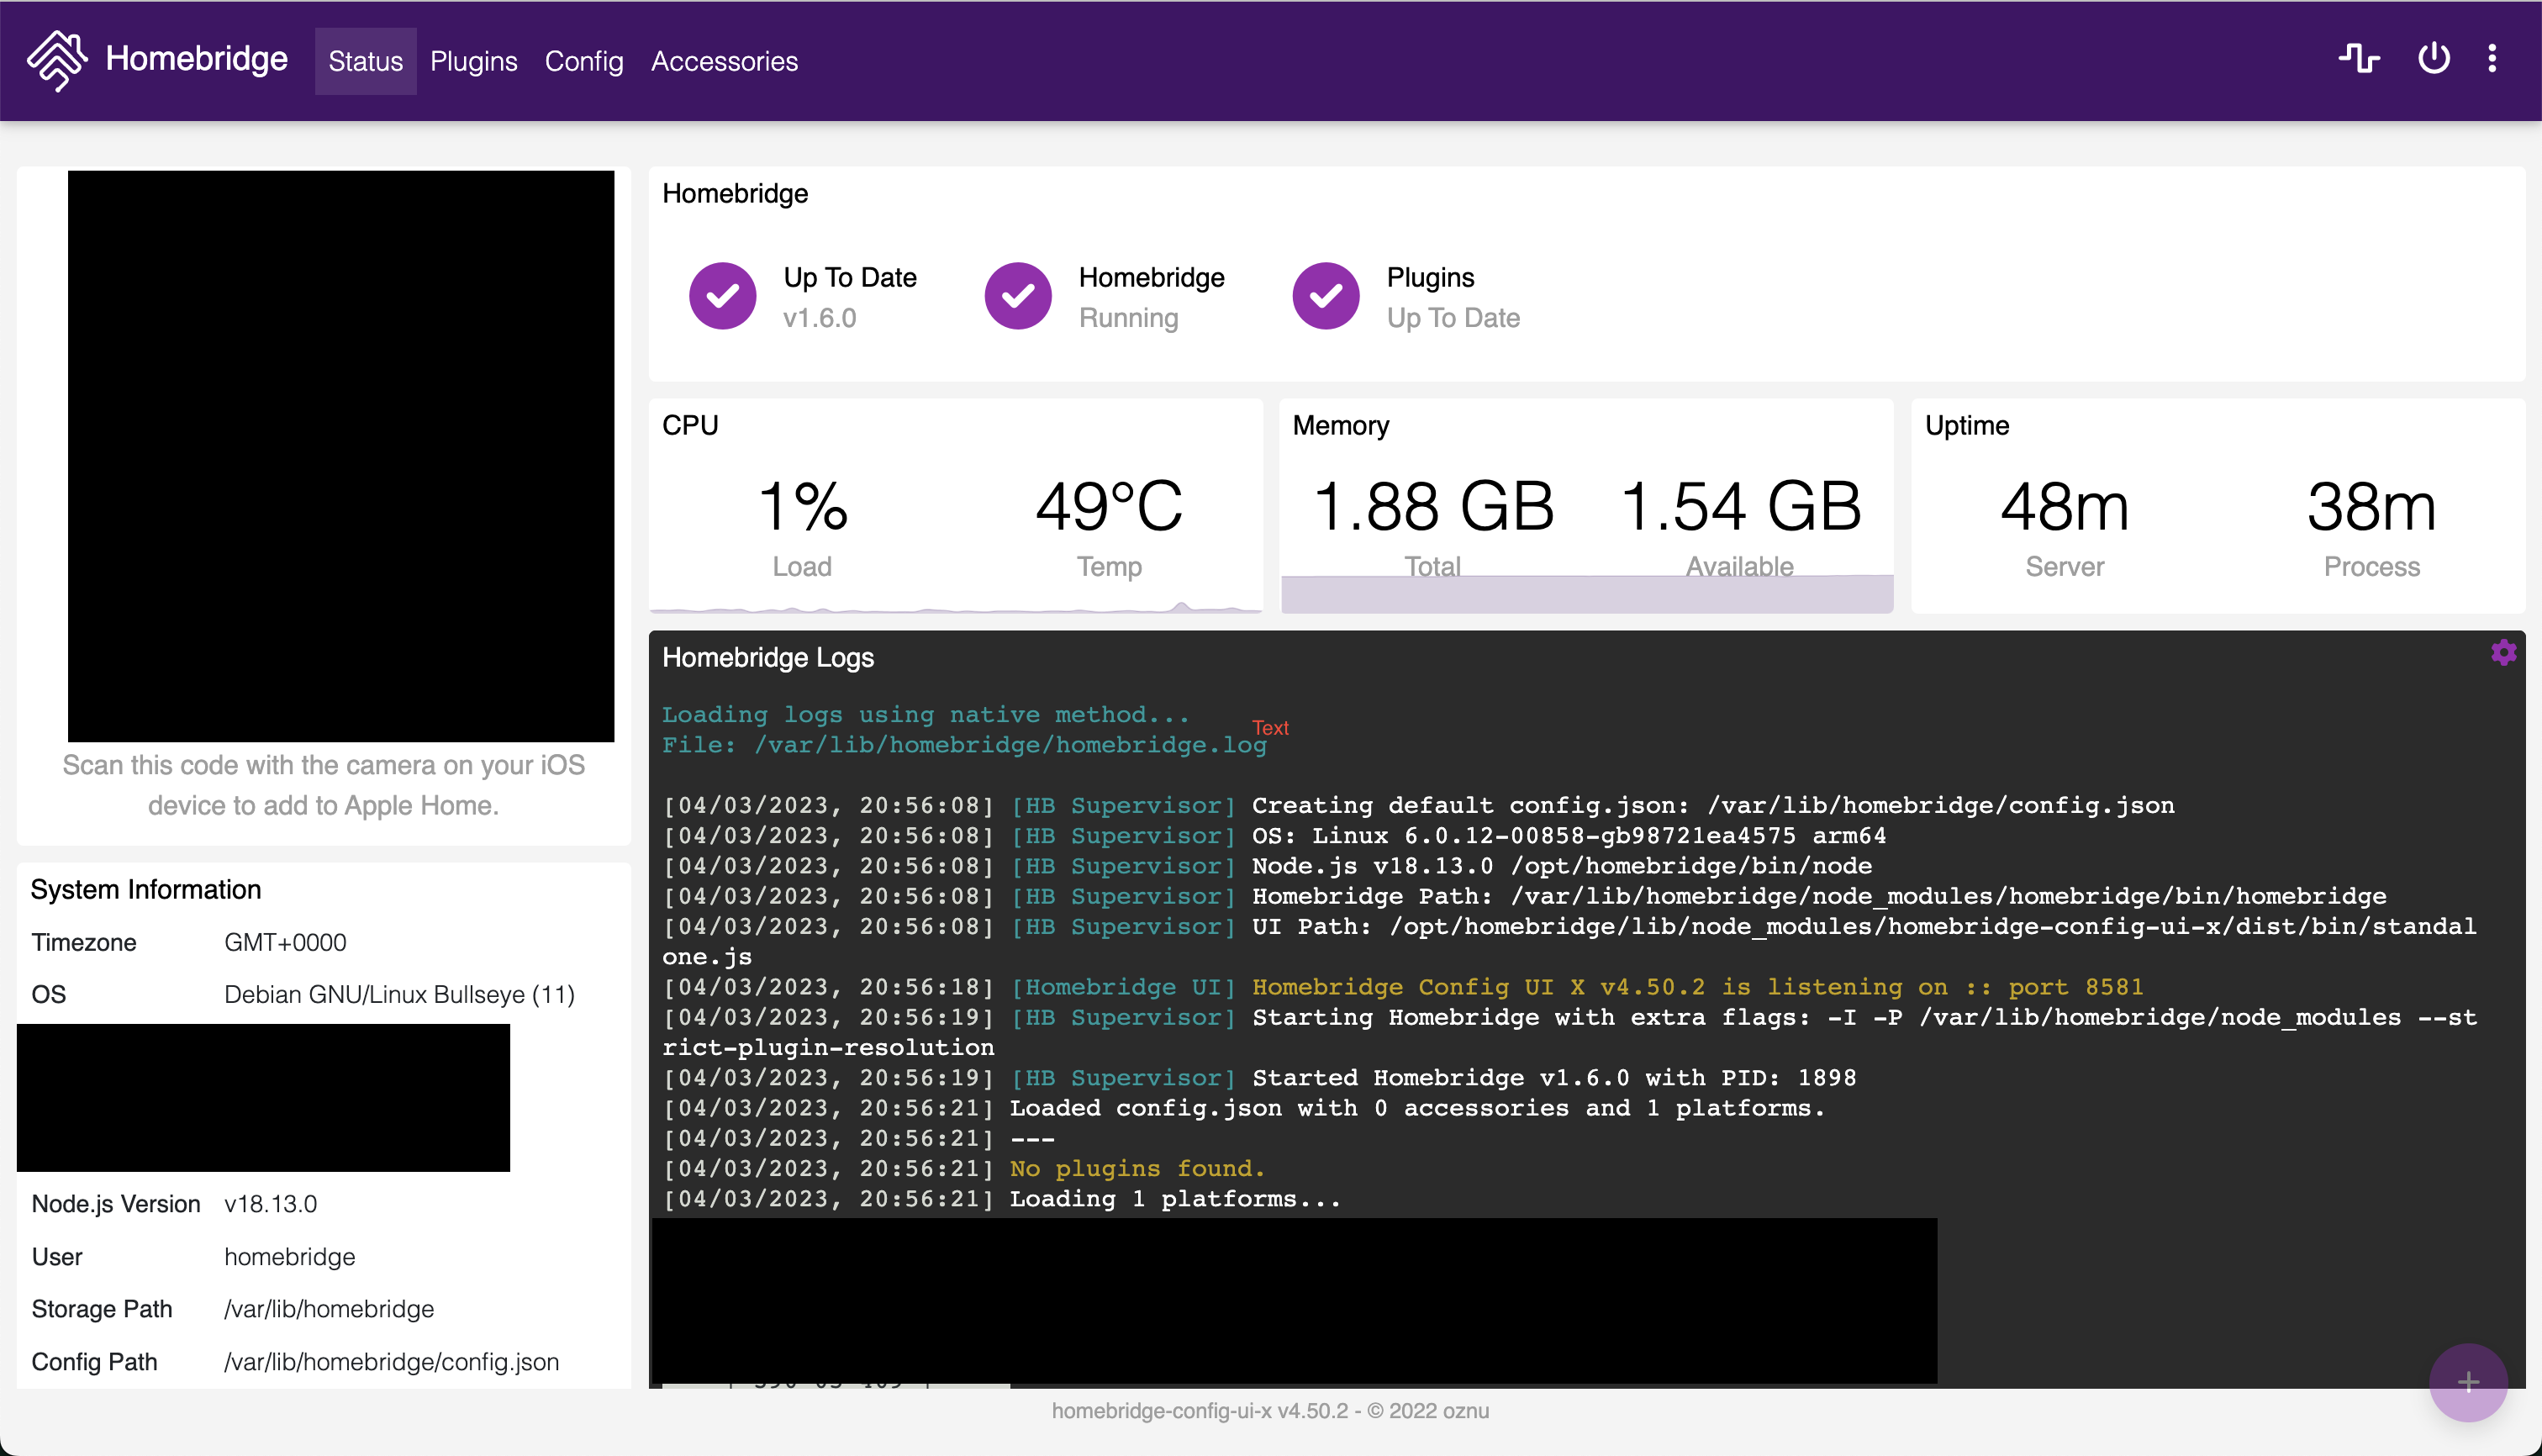
You can scan the QR Code in the top left, which has been redacted here, to join the Homebridge to your Home in HomeKit. Once you are through pairing the bridge, you can begin installing plugins for the various devices that you have.
Adding Kasa Devices
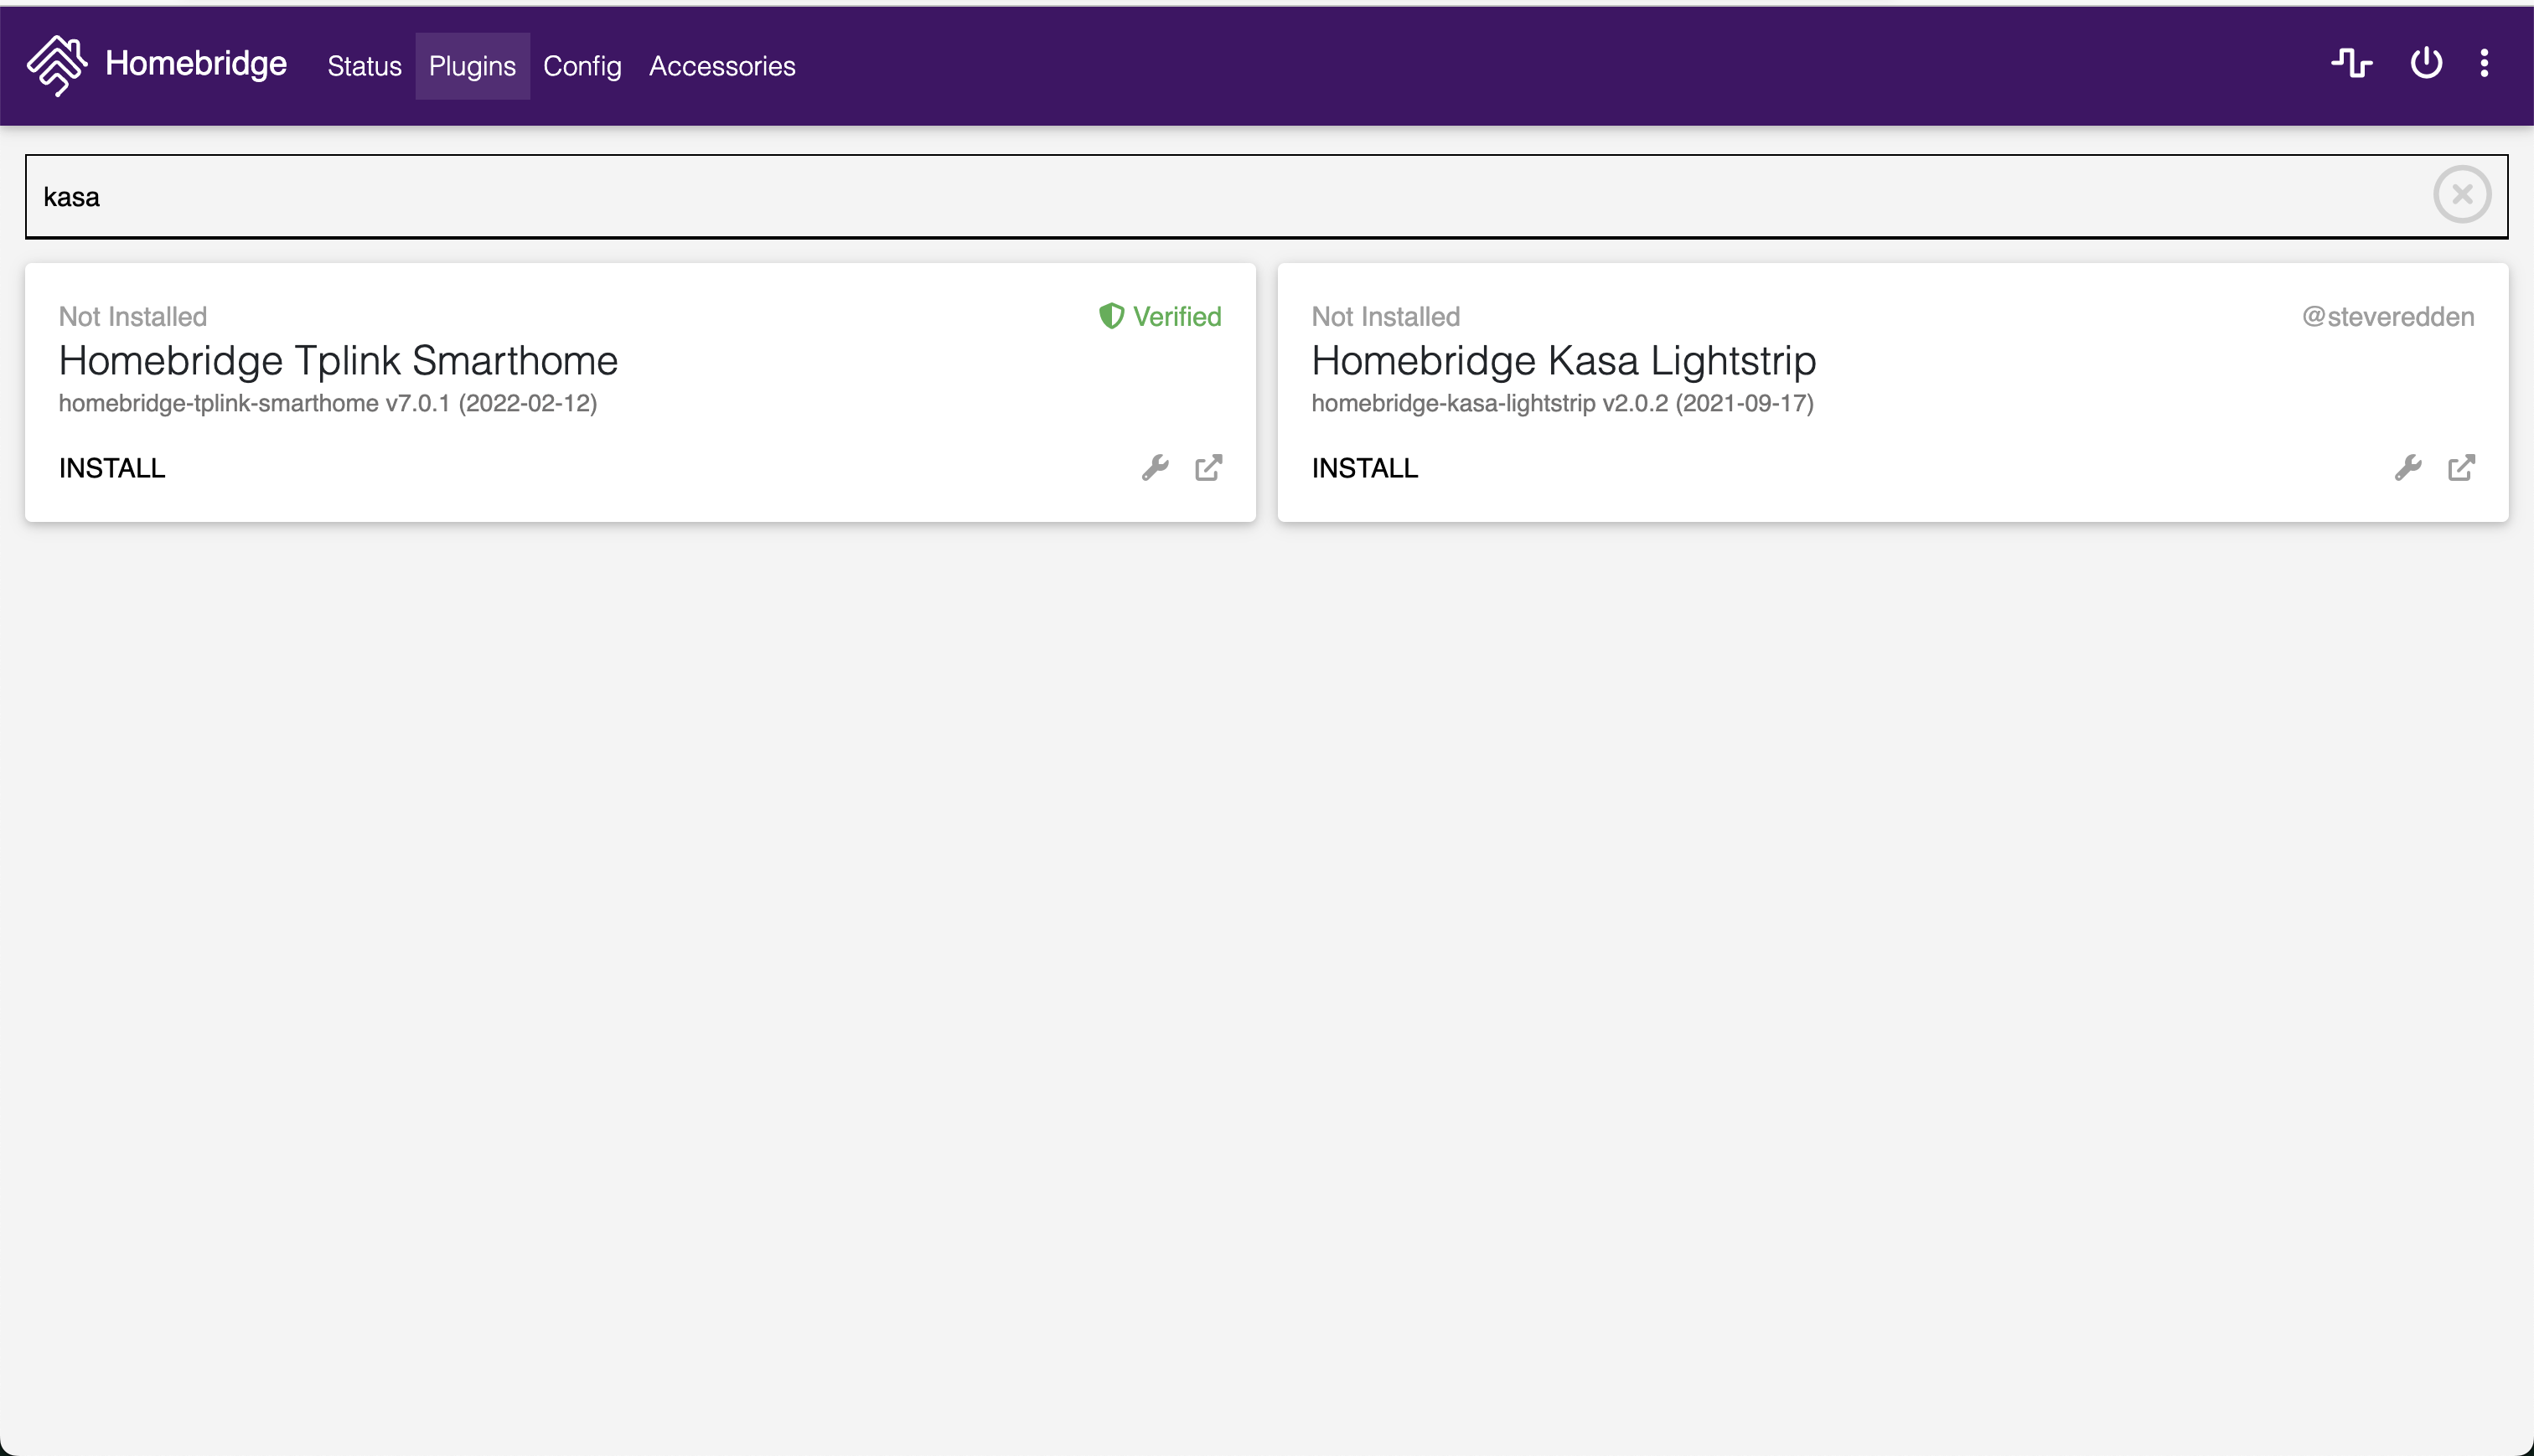
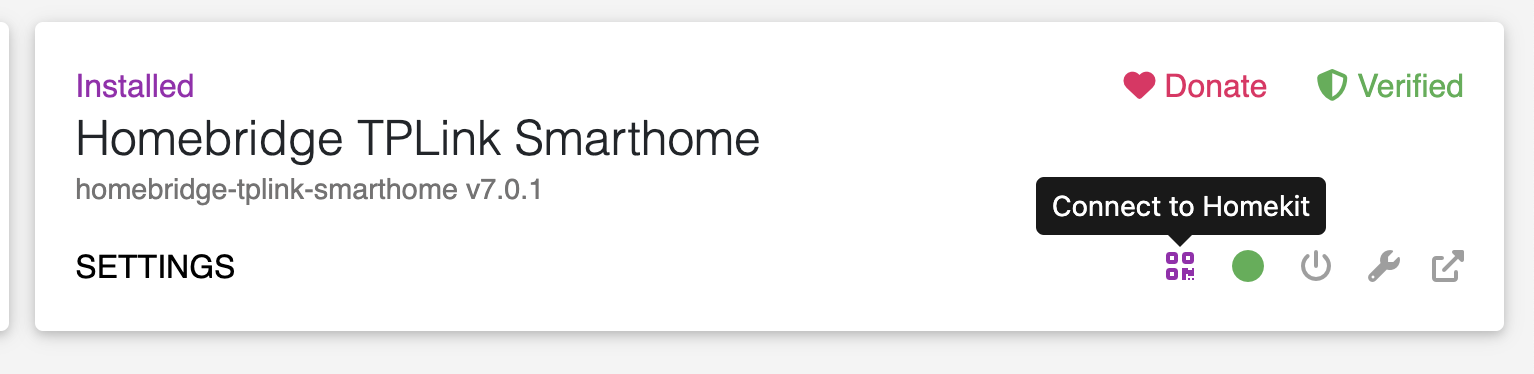
To start adding Kasa Devices, you'll need to go to the "Plugins" page and search for "Kasa" or "tplink". You're looking for the "Homebridge Tplink Smarthome" plugin. Once you've found it, click "Install".
Give your Kasa plugin a name, I'm going with the ever-descriptive "Kasa".
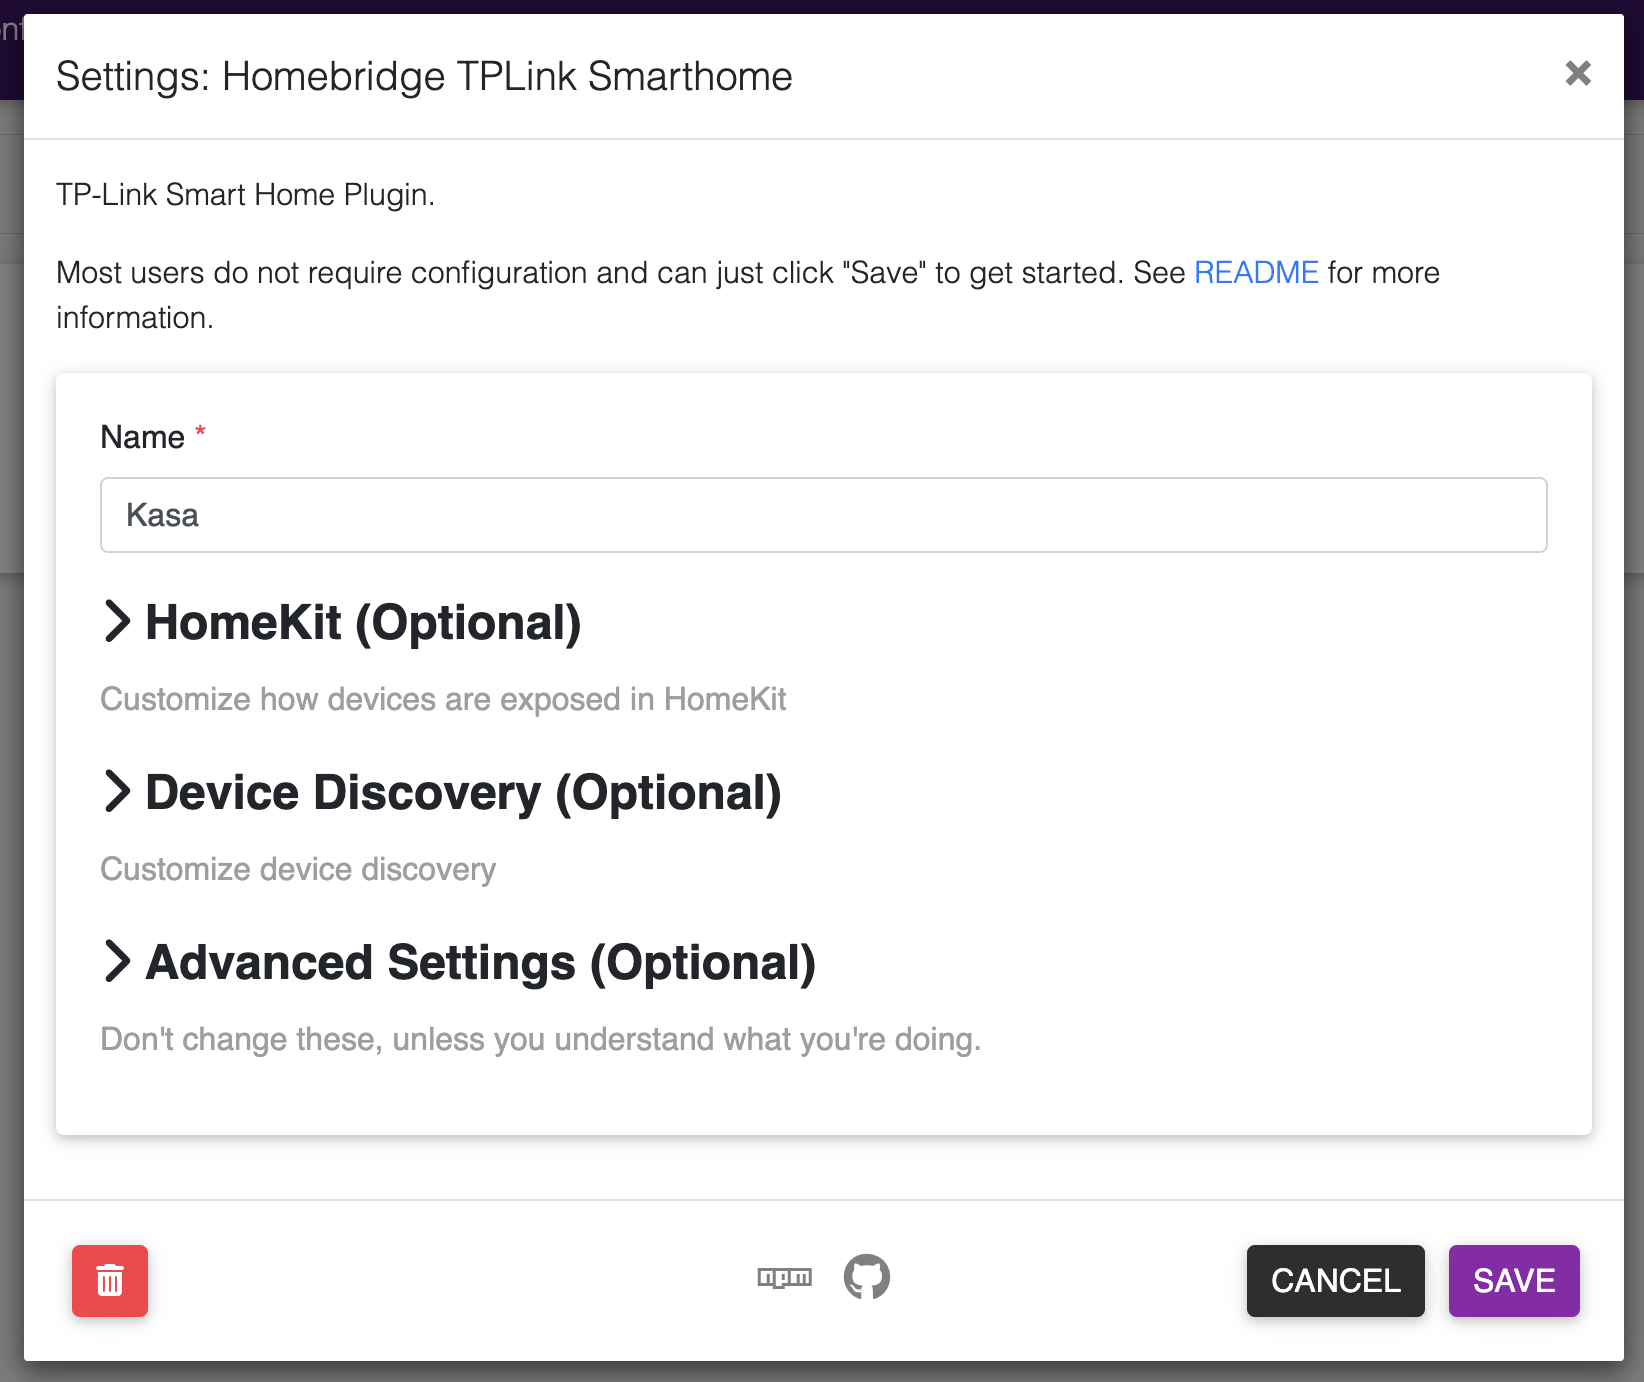
Then you can choose whether to run your Kasa plugin as a "child" bridge. This is supposed to improve responsiveness and performance, so I've decided to enable that option. Note that if you do select to run it as a child bridge, you will need to hit the "restart" button in the top right of the Homebridge UI.

Since this is running as a child bridge, we'll need to add it to our Home separately. After the Homebridge server restarts, you'll go back to "Plugins" and find the "Connect to HomeKit" button shown below.
That should bring up this modal, with another joining QR code.
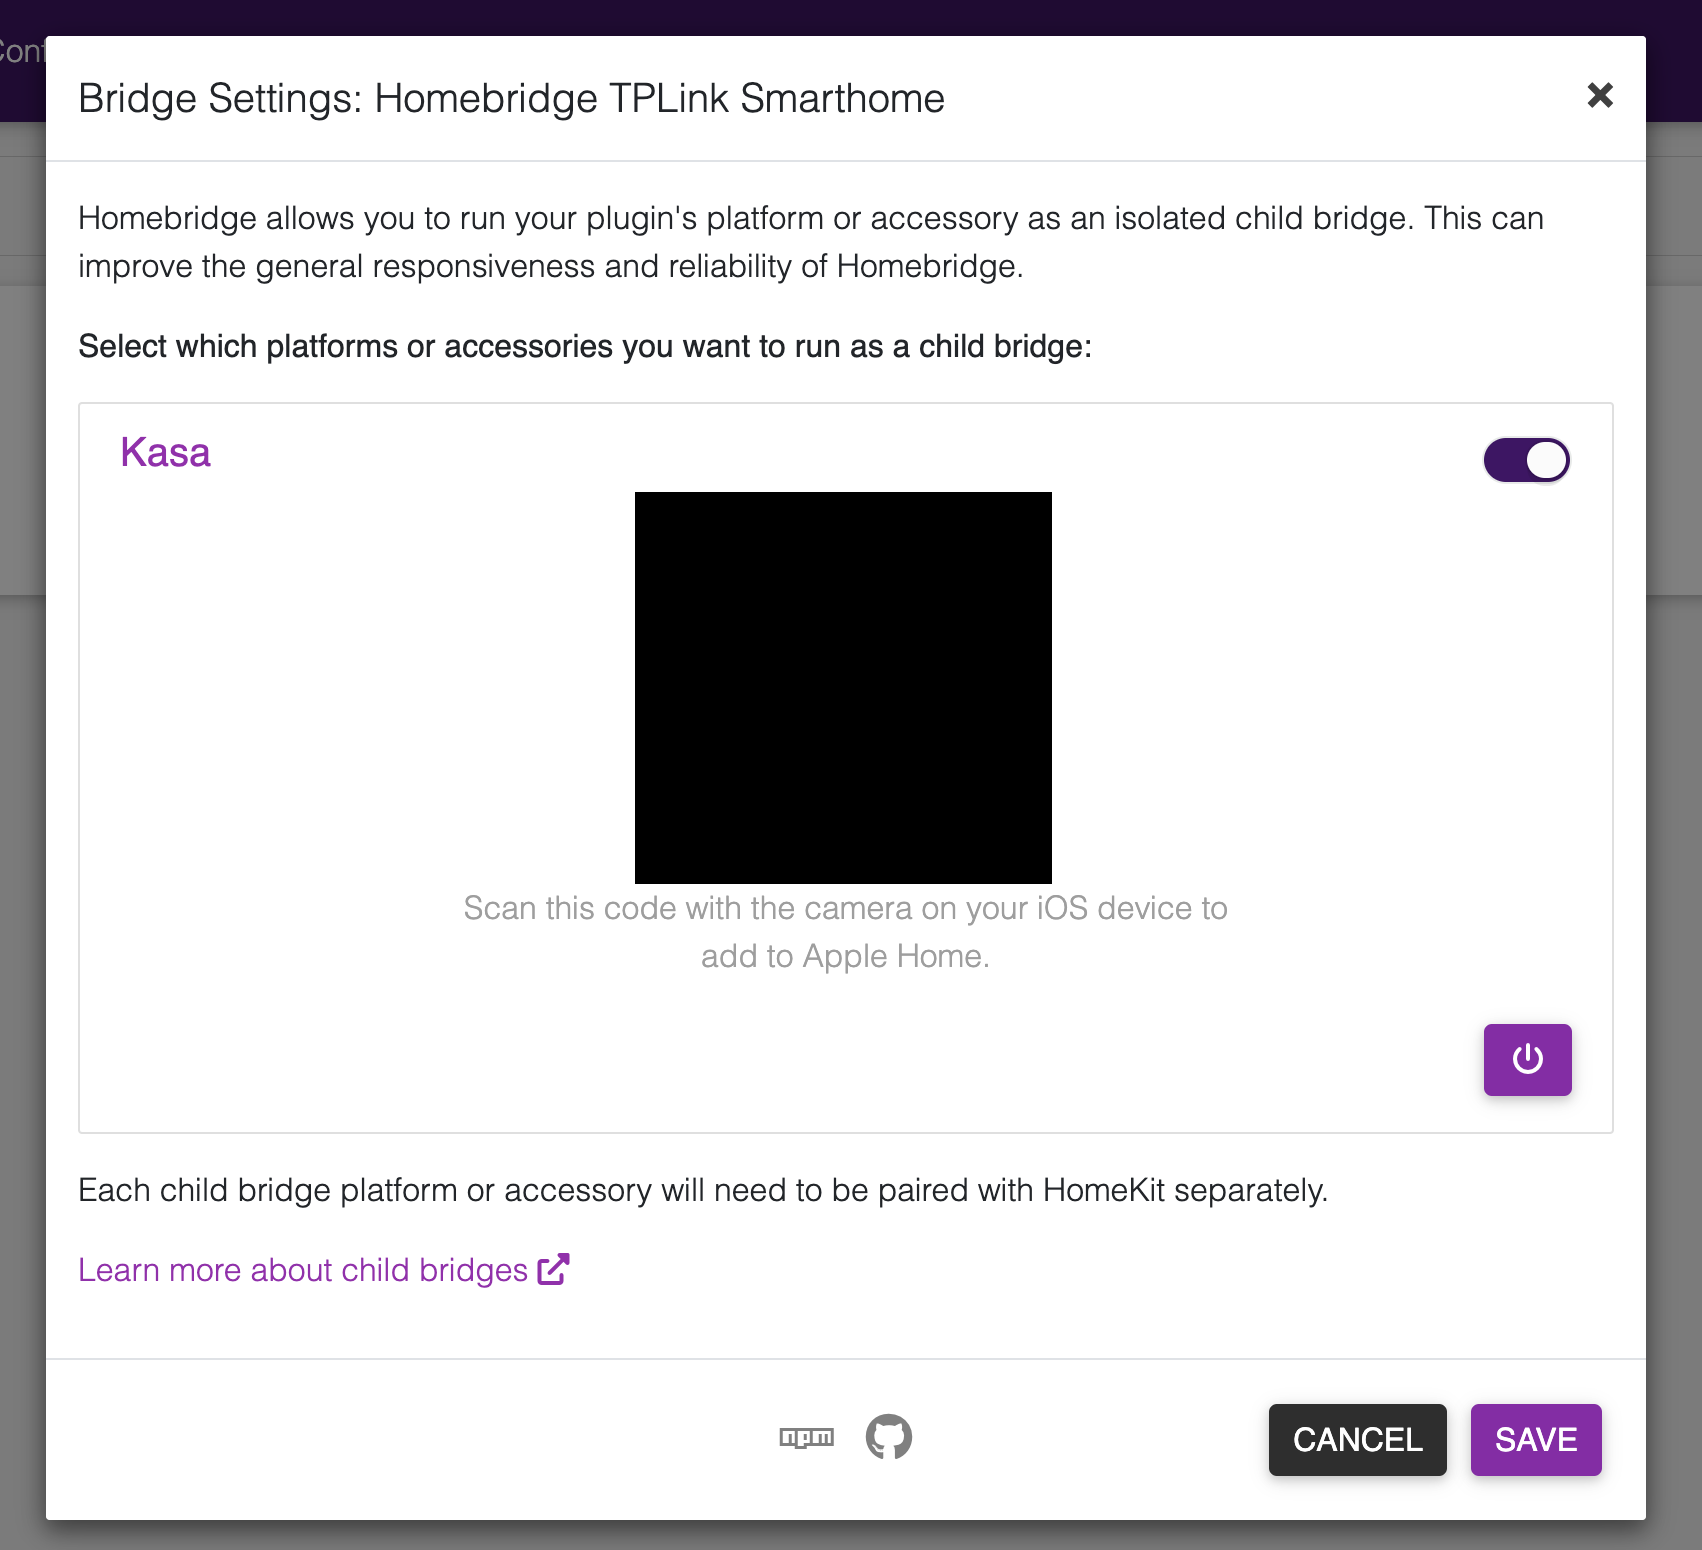
This plugin will automatically detect Kasa devices on your network and walk you through adding each of them to HomeKit, so that they show up in the correct rooms with the correct names. Once you've run out of prompts to add new devices, you're all done and all of your Kasa devices should be added.
What's up next?
I still need to get the Vivint home security devices configured again, but this is a decent place to stop for now. All of the smart plugs that we had in the house are now talking to HomeKit, which means phrases like "Hey Siri, turn the candle warmer off" will work again! 😁